Table of Contents
Create a Report
- Navigate to Report Settings by clicking on Settings and selecting Reports.
 Click on the red circle with the + to add a new report.
- Type in a Report name, and hit Continue.
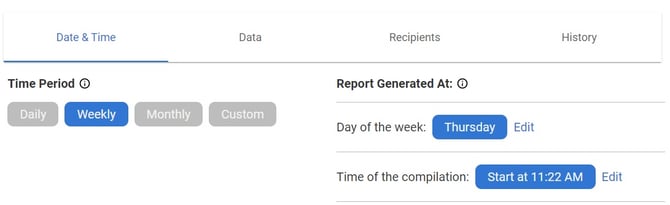
Date & Time Tab
The option in this tab allows the user to customize the frequency of the report.
- Select how often the report will be emailed. Daily, Weekly, Monthly or Custom
- Depending on your Time Period, the Report Generate At section will display options like the Day of the Week, Time of Compilation, Date of the Month, and Days to the Compilation Date.
Data Tab
The options in this tab allow the user to customize the report further. Select from any combination of Shifts, Lines, Product Categories, and Product Tags.
- Click the filters desired.
- The buttons will turn blue as confirmation

Recipients Tab
Select who on your team you'd like to receive these reports
- In the Subscription column check off the users you wish to receive the report.

Saving & Activation
To Save and Activate your report, use the menu at the top
- Ensure the status slider is set to Active.
- At the top of the window hit the Save Report button. (Hitting Cancel will delete your progress)
